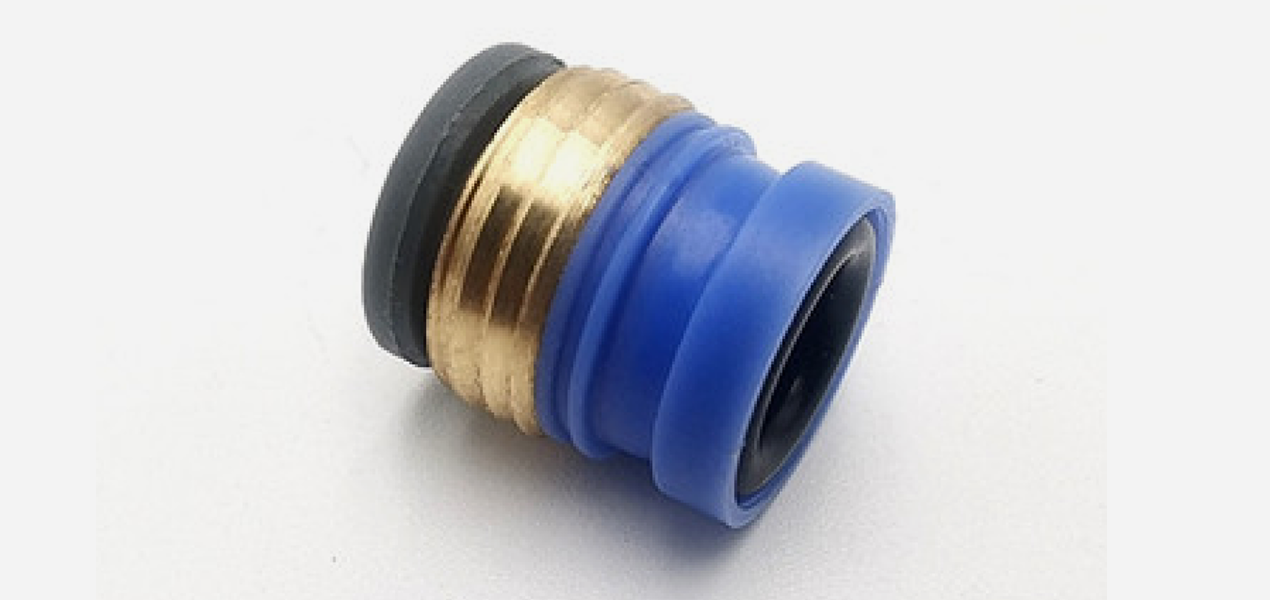
How to install the embedded connector? Share the installation steps!
Home ✦
Industry Knowledge ✦
How to install the embedded connector? Share the installation steps!

How to install the embedded connector? Share the installation steps!
As an important connecting element, embedded connectors play a role in connecting and disconnecting circuits in many circuits. However, many people are not familiar with its installation steps. In fact, you only need to follow the steps below to ensure that it works properly.
Step 1: Confirm the type and specification of the connector to be used. Before installing the connector, you first need to confirm the type and specification of the connector to be used and understand its functions and features.
There are many types and specifications of connectors. Choosing the right model and specification can effectively improve its use effect. In addition, confirm the required wiring harness specifications, current voltage and other parameters for subsequent work.
Step 2: Prepare the necessary installation tools and equipment. Installing embedded connectors requires some professional tools and equipment, such as wire cutters, pliers, wire cutters, crimping pliers, torque wrenches, power tools, etc.
In addition, you also need to prepare materials such as solder, solder core, insulation stripper, heat shrink tubing, insulation tape, adhesive, etc. to ensure the quality of the installation effect.
Step 3: Strip the insulation material. When stripping the insulation material, you need to ensure that the wire core and insulation stripping length meet the relevant standards. Smooth wire cores can better fit the connector, enhancing the tightness and stability of the connection. In this step, you need to ensure that the cut wire is short and uniform in thickness, and not too long or too short, to ensure the accuracy of subsequent operations.
Step 4: Install the embedded connector. Before installation, you need to slide the wire into the connector to ensure that the wire can fully contact the contact point of the connector, which can enhance the stability of the contact.
After that, you need to use crimping pliers to crimp the joints. The force should be moderate and not too strong to prevent damage to the joints. At the same time, you need to use a torque wrench to control the screws and nuts to ensure work safety. Make sure the joints are firmly connected, stable and reliable.
Step 5: Insulation treatment. During the installation process, in order to ensure its stable and reliable use, it is also necessary to perform insulation treatment. Usually, materials such as heat shrink tubing or insulating tape can be used to treat the joints.
When using heat shrink tubing, you need to ensure that its length and reduction ratio meet the standards, and when using insulating tape, you need to ensure that the length of each overlap is at least half the width of the previous tape.
Although the installation of embedded connectors looks simple, it actually requires professional skills and methods. During the installation, each step should comply with standards and specifications, so that you can use it with peace of mind. If you don’t know how to install it, it is recommended that you ask a professional staff to install it.

